

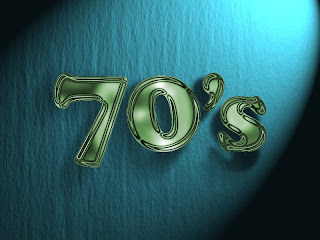

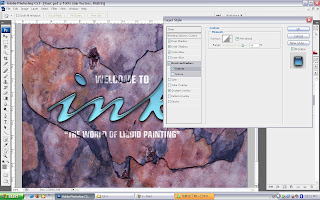
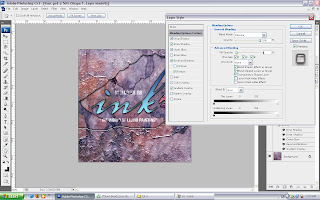
Step 2 : To create the wordings, I use different size, color & angle of font with different layers. After that, I adjust the blending options with turn on the drop shadow, outer glow and bevel and emboss. After that I choose angled strokes to modify the wordings..^^
Step 3 : Next, I combined my wordings,mmu logos with the layer but because I don't wish to see the background so I adjust the layer and put the background layer above of my wordings layer & mmu logos layers. After that, I also adjust the capacity of the background layer so that I can see the text and logos.
Step 4 : Use elliptical marquee tool to crop the image and it'll be ellipse shape at the end
Step 5 : After that, I just combined every picture and add text that can promote FOM courses and also with FOM contact number and date,time & venue. At the end, put stroke effect in blending options to edit the wording that represent FOM characteristics
Step 6 : After that, I choose to use the MMU bee to be the presenter & show when & where. So I use custom tools to drag a conversation box and adjust the color and size for balancing of the whole poster.
Step 7 : To create a effect of those images I snap & been cropped in ellipse shape, I use filter--->stylize-->tiles to create a pretty nice effect. After that, I use two different types of brushes to paint the text.
This is the final output
Tool used in this assignment
- shapes tools to crop images
- adjustment of blending options
- layer adjustment
- paint brush
- tiles effect
- custom tools
- magic wand
What had I learned
- technique of using different paint brush gives different effect
- crop images using shapes tool
- layer adjustment
- balancing of color
- balancing of layout
- contrast of graphic
Description
These assignment is to wish us can promote our own faculty's open day & of course my faculty is FOM..So I searched for FOM courses to make audience getting clearer to our faculty's courses and snap some images related to FOM so can attract them because FOM have a nice & comfortable environment because the building is new and was finished build on 2008. So to promote the open day, I believe that date is the most important aspect so I create the banner to show the FOM open day and along the date. So, I wish people who saw my job can get my message that I'm promoting for MMU FOM open day on 21st March 2009.
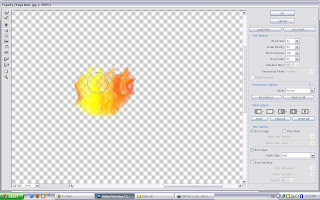
 Step 1 : Using lasso tools to draw a flame shape & fliter it using gaussian blur with 1.2 pixels.
 Step 2 : After fill the flame shape with white color, then using paint brush tools to painting around the outside of the shapes. After select the flame, turn off the visibility of background & leave the flame layer then goto edit & select " define brush preset" and save the "flame shape" as a new brush.
 Step 3 : After that, use again the paint brush tools but is using the new brush that is the flame shape that been saved just now. Paint around on the yoga man's hand using different size of paint brush. After that, select red & yellow & create a rectangle by using rectangle marquee tool
 Step 4 : For the next step, press Ctrl+l to adjust the darkness & brightness of the color of the fire.



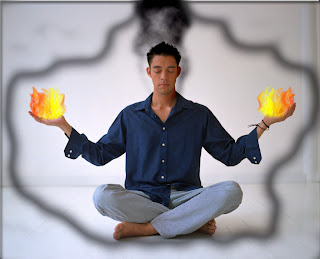

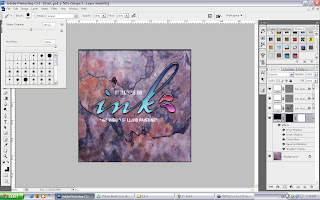

 ~~~Final Output~~~


