
Click on the wording layer then choose gradient overlay to put gradient in the text..So,I choose 2 different color of BLUE.
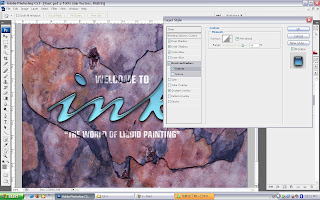
Next, apply "inner shadow","drop shadow","outer glow" & "bevel and emboss"...apply it once by once with apply different capacity,distance & size to bring different effect to the text.. After applying those effect, the word have a different look compare to the beginning.
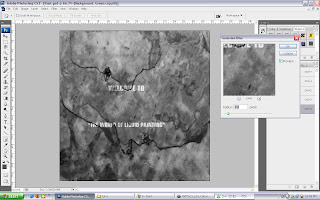
After choose the green channel & duplicate the channel, goto filter-->blur-->gaussian blur and adjust the pixels to make the background have a little bit blur effect.
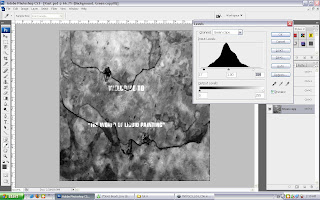
Next, press ctrl+l to pop out the level windows and adjust the input levels for the brightness & darkness of the background.
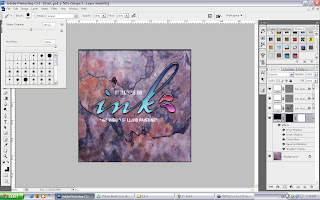
Change the two ink split with different color by click on their own layer on the gradient overlay after that save one of the ink split on the style windows by click & drag on the windows and save it~Then next, use rectangle tool to create a brand new layer which name as "shape 1" then create a layer mask & only select the layer mask and using paint brush tools to color it.
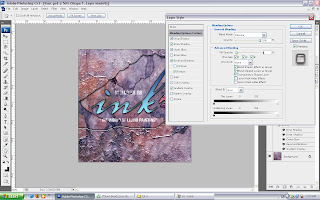
Actually after color the surrounding, it become red color that I been saved before in the style windows but now to create an ice texture, so click on either one effect been applied before and turn on the "blend interior effects as group" and adjust capacity of the advanced blending. Choose the capacity until the color part can success give the ice effect~

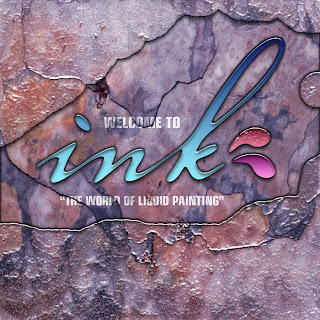 ~~~Final Output~~~

Next, apply "inner shadow","drop shadow","outer glow" & "bevel and emboss"...apply it once by once with apply different capacity,distance & size to bring different effect to the text.. After applying those effect, the word have a different look compare to the beginning.

After choose the green channel & duplicate the channel, goto filter-->blur-->gaussian blur and adjust the pixels to make the background have a little bit blur effect.

Next, press ctrl+l to pop out the level windows and adjust the input levels for the brightness & darkness of the background.

Change the two ink split with different color by click on their own layer on the gradient overlay after that save one of the ink split on the style windows by click & drag on the windows and save it~Then next, use rectangle tool to create a brand new layer which name as "shape 1" then create a layer mask & only select the layer mask and using paint brush tools to color it.

Actually after color the surrounding, it become red color that I been saved before in the style windows but now to create an ice texture, so click on either one effect been applied before and turn on the "blend interior effects as group" and adjust capacity of the advanced blending. Choose the capacity until the color part can success give the ice effect~

 ~~~Final Output~~~
No comments:
Post a Comment